Showing posts with label vanilla. Show all posts

Saturday, July 23, 2011

Fried Ice Cream

Like the rest of the country we have been suffering with unbearable temperatures.  So what do you do when it is so hot??? Go out for ice cream, of course.  Here in Oneonta, we have so many options. There are the popular chain ice cream franchises and our favorite the mom n pop stands.  We decided on the Golden Gurnsey. 

My absolute favorite item there is fried ice cream.  So I get to the counter order for the kids and Jay, no problem, then order for myself and PROBLEM!  There are out of fried ice cream.  I stood there for a moment contemplating another choice, and then decided on nothing.  I was pouting, if I couldn't have the fried ice cream, I wasn't going to have anything at all.

I was really crabby about it the rest of the night.  Then it hit me, make it yourself.  I have done it before, but the heat must of fried my brain and I forgot.  So the next morning I made the ice cream balls; let them set up in the freezer.  Last night we all enjoyed fried ice cream.

It is really simple.  It takes a few steps and a little planning, but it's not rocket science.  I'm not sure exactly how other people make their fried ice cream, but this is my take on it.

recipe

2 C. Corn Flakes, plain
2 T. Sugar
2 tsp. Cinnamon
Vanilla Ice Cream
1 Flour Tortilla
Whipped Cream and Dessert Topping for garnish

In a small bowl, combine sugar and cinnamon.  Take half of the cinnamon sugar, and in a food processor combine sugar and corn flakes. Pulse until you have a fine crumb.
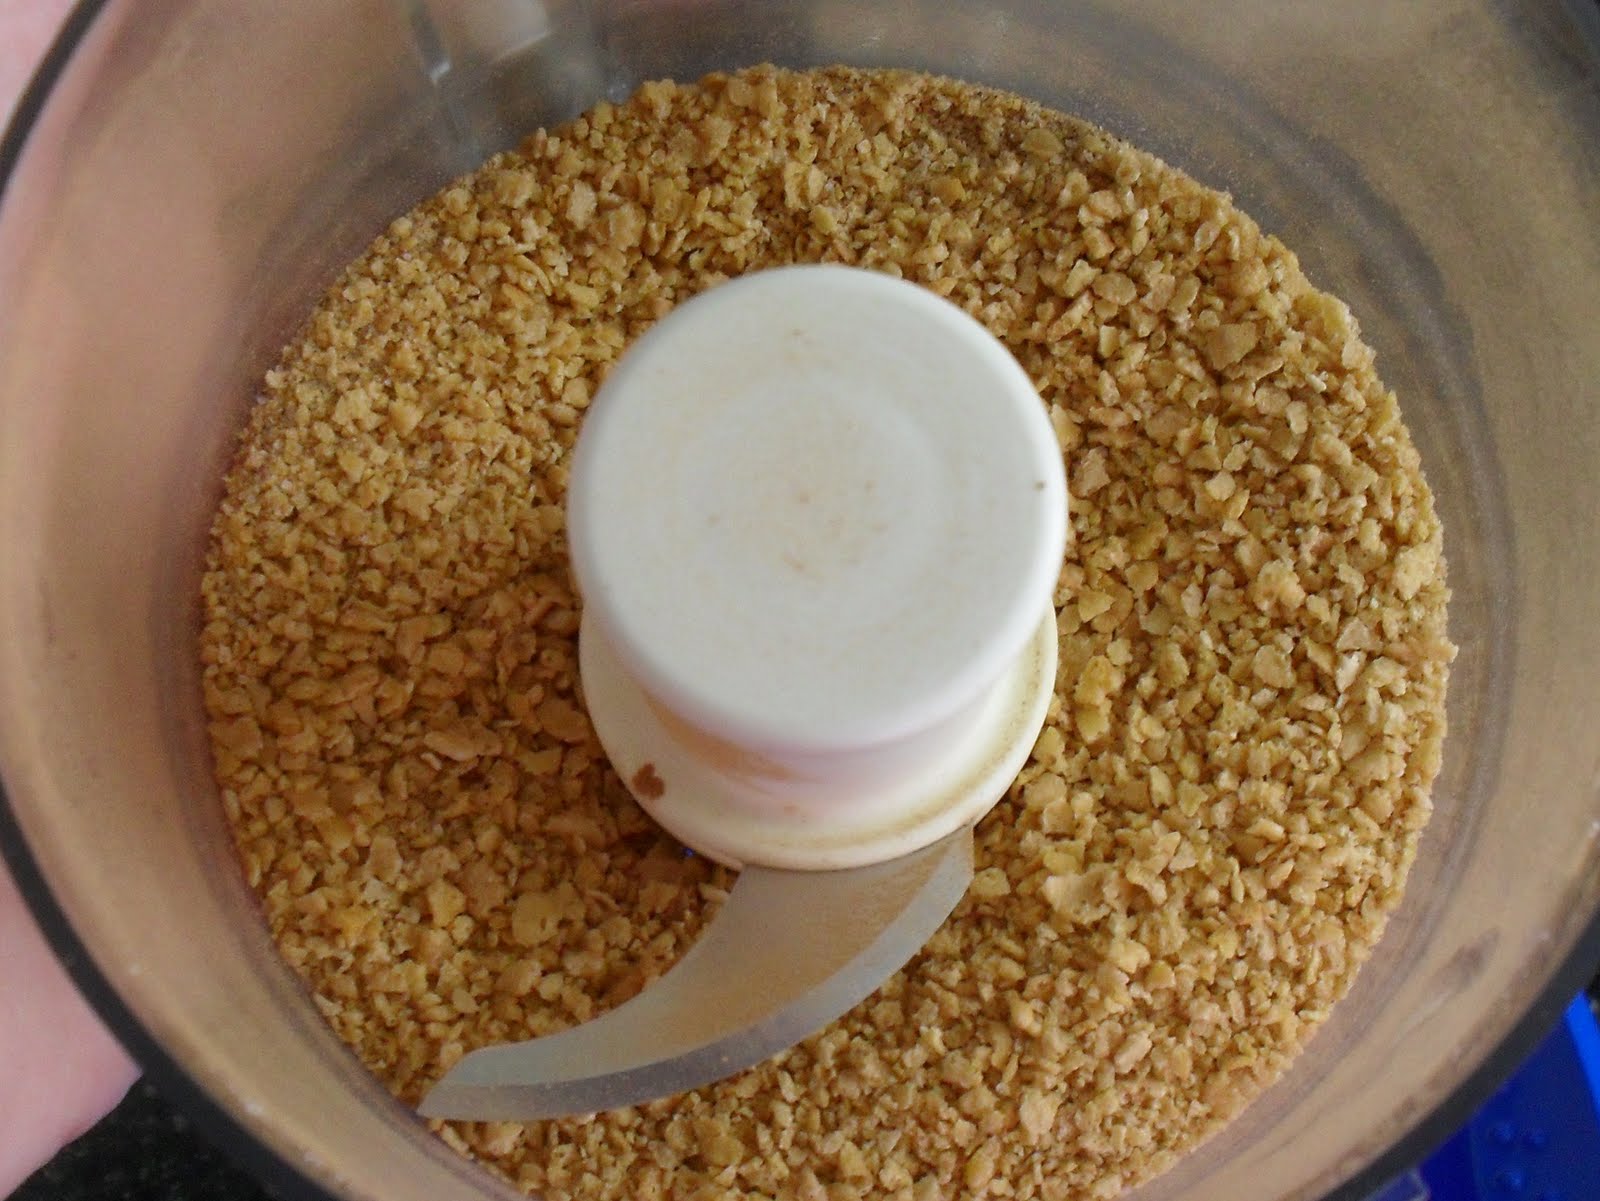

Line a cookie sheet with parchment or waxed paper.  Using a standard ice cream scoop, about 1/2 c., scoop balls of vanilla ice cream.  With your hands quickly form a round ball about the size of a baseball.  Then roll immediately into cornflake mixture, coating evenly.  Place on cookie sheet and freeze for several hours. (This should be enough crumb for 4 servings.)

When you are ready to serve dessert, heat about 1/4 inch of vegetable oil in a skillet.  Cut the flour tortilla into eight wedges. (I use a pizza cutter to make quick even pieces.)


Fry the tortilla in hot oil for about 30 seconds per side.  Fry only a few pieces at a time so you don't crowd the pan.  Lay on paper towels and dust with remaining cinnamon sugar while they are hot.


Next it's just assembly.  Place a few tortilla pieces on a plate, put ice cream ball on top, and drizzle with dessert topping and whipped cream. 
Linking to these parties.

Wednesday, February 9, 2011

Nice Pound Cake, But Not Sara Lee

I have had a day full of disappointment.  It began this morning when my car decided she didn't want to start in the sub-zero temperatures.  Then moved onto a few small things throughout the day.  Finally it was topped off with a recipe that was not what it promised to be.

I consider myself to be picky when it comes to yellow cake.  I know that sounds bizarre, but I am not a huge chocolate fan.  I always have a yellow cake for my birthday, and my two boys are following suit.  I have always also loved Sara Lee's pound cake.  If it is in the house, I will literally eat the entire loaf until it is gone.  My  mom used to slice it in layers and put strawberries and whip cream between it.  I have also drizzled it with pineapple topping and praline syrup.

So, I have been surfing the Internet for a while now to find a "copy cat" recipe.  Most of the reviews on recipes have said the same thing, nice pound but not like the original.  Then I stumble across a recipe from the Copykat website, that promised to be just like the real thing.  I set out to make it today, and oh boy, was I disappointed.  The one thing that draws me to Sara Lee's pound cake is the texture. It has such a tight crumb and density, that I enjoy. 

When I cut into it, I knew right away it wasn't the same.  I kept an open mind and sampled a piece.  It had a pleasant vanilla pound cake taste, but the texture was way off.  The bottom line is, it's a nice pound to serve as a short cake or with ice cream, but it's not Sara Lee.

If you want to try it for yourself and give me your review, here's the recipe.

Sunday, January 2, 2011

Cupcake Spotlight (January 2011)

Sorry this edition is late, but I was out of town and my parents do not have a computer.  So a little late, but I think worth it.  My husband took this batch into work and had a completely unbiased party taste them, and the verdict was: DELICIOUS!!!  

I wanted a cupcake that had a simple flavor to remind me of the clean crisp winter air of January.  I decided on a vanilla bean cupcake with vanilla mascarpone frosting. I made both regular and mini sizes this month.  I also frosted them two ways....a piping bag for a light touch and an ice cream scoop to resemble a snow ball.  Both of these versions could easily be topped with coconut or clear sugar crystals for a more winter appearance.

Next month's cupcake is in the works....any requests???? I am also working with a talented blogger who makes decorative cupcake sleeves.  I am hoping it will be spectacular!  Have a blessed started to the new year :o)

Linking to these wonderful parties.

Thursday, December 9, 2010

Easy Ways to Gift Vanilla Sugar

So back in October I did a post about making vanilla sugar.  I promised I would give some easy ideas on how to use that vanilla sugar as gifts. Well here it is.  The gifts are simple to do, inexpensive, but are very thoughtful.  All the containers I used were all purchased at a craft store for under $2.00.

Idea #1  Vanilla sugar with a pound of your favorite coffee.  This can be wrapped in cellophane or just nestled in a gift bag.


Idea #2  Vanilla sugar in a mug with a small sample of coffee and some chocolates.  I decided on a neutral mug (to match anyones decor) that I got from my local department store.  I also used a smaller container of sugar.  I wrapped it in cellophane that I got from the grocery store, and included a tag on how to make additional vanilla sugar.


Idea #3  A larger container of vanilla sugar with a recipe for sugar cookies attached.  I used a simple jar and applied a rub on transfer to add a little design to the jar.  I wrapped this one in tissue and nestled it in a gift bag with a label that says "From the Kitchen of....".


Idea #4  Bake a batch of snicker doodle muffins, topped with vanilla cinnamon sugar, and give a small jar of sugar.  The recipient can use it with coffee or tea while enjoying the muffins.  I put the muffins on a holiday tray.


These ideas are just a jumping off point.  Be creative and give some wonderful and thoughtful gifts.  All of the gifts are under the $10 mark and can be given to a wide variety of people on your list. Click here for the snicker doodle muffin recipe.

Linking to these parties.

Saturday, November 6, 2010

Scratch Cinnamon Rolls

Our family has a love for cinnamon rolls. Our recent trip to the Oakdale Mall in Binghamton was partially disappointing as the Cinnabon there closed!  I have made quickie cinnamon rolls before from crescent rolls and while they are delicious, they are not a scratch yeast roll. 

The last several weeks, I have searched and searched for a recipe that would be easy and delicious.  I found one that uses a cake mix for a base, one that uses vanilla pudding mix, but I really wanted something with only a few ingredients.  Sometimes the simpler the ingredient list the better the baked good is.

So last night I found a recipe that only a few ingredients and were things I already had in the pantry.  I made a few adjustments to the  recipe, the filling and the icing.  The result was a gooey, cinnamon treat.  The whole process took about two hours (including time to let it rise). I know it sounds like a lot of work, but trust me it is totally worth it. It's a recipe that you can easily make on a weekend and your family with love you for it.  I was also thinking, make a batch of these and bring them to the hostess who may be having you over for the holidays. It would make a lovely breakfast the next day for his/her family after working so hard on a holiday dinner.

recipe for the dough

1 package of yeast or 2 1/4 teaspoons
1 C. warm milk (110 to 115 degrees)
1/2 C. sugar
1/3 C. butter, softened
1 tsp salt
1/2 tsp vanilla
2 eggs lightly beaten
4 C. Bread Flour

In a large bowl dissolve yeast into warm milk and sugar.  Allow to proof for 5 minutes. Then add eggs, vanilla, butter, flour and salt.  Stir with a spatula until a soft dough forms.  Turn dough onto floured counter top and with floured hands knead for a couple of minutes into a ball.  Place in a greased bowl, cover with a towel , and allow to rise about one hour.

recipe for filling

1/3 cup softened butter
1 C. packed brown sugar
2 1/2 Tablespoons of cinnamon

Combine all the ingredients into a paste and set aside.  After dough has risen, on a floured surface roll dough into a rectangle approximately 16"x20".  Using a spatula spread the filling mixture evenly on dough. Starting at the long end, roll the dough into a log.  Trim the ends off. Cut rolls into eight large rolls or twelve medium rolls.  Place cut side up into a greased baking dish and cover with a towel.  Let the rolls rest for about 15 minutes. 

Preheat oven to 400 degrees.  Bake rolls for approximately 18 to 21 minutes. The top of the rolls will be golden brown and the dough on the rolls will no longer feel soft.  Don't worry if it looks like the filling is leaking out of the rolls on the bottom. Once the rolls cool, the cinnamon mixture with tighten back up and form a gooey glaze.


recipe for icing

1/2 stick of butter, softened
2 oz of cream cheese, softened
3/4 cup of powder sugar
1 tsp vanilla

Combine all the ingredients until smooth.  When rolls come out of the oven allow to cool for about five minutes and then frost generously with icing.  Store in an airtight container for several days.

Linking to these parties.

Tuesday, October 19, 2010

Ghostly Treats

On this coming Sunday, I will be helping our church with our annual Halloween Party. I will be dressed as a nice witch and helping with the toddler games. I really can't wait!  As a good witch I decided to make some treats for my cauldron. I thought about making spiders, but I was afraid the legs would brake off, so I settled on ghost cookies.

In the recent months I have found several blogs I absolutely adore.  One in particular, from Denmark, is fabulous and has so many great cookie and cake designs.  Browsing her tutorials, I saw the remarkable sugar cookies, that are decorated very nicely. She uses royal icing, pipes the border, then floods them. They are spectacular!!!

Flooding.....this brought me back to my days of the Wilton cake decorating classes I took in my 20's.  We learned how to flood, and honestly, I didn't like it. It was messy and I always got air bubbles.  Well, I read this particular guide on how to decorate cookies, and there seemed to be some useful tips.  I decided to give it a whirl.  To my surprise, the tips helped and the ghosts came out very cute and neat.

Three tips in particular helped me last night. The first was to use a hand mixer with the dough hook attachments to make the frosting. I don't know why this works, but it was a breeze. The second was to let the royal icing rest after thinning it for flooding, to let the air bubbles come to the surface.  Finally, putting the icing in a squeeze bottle gave me excellent control when flooding.

I'm going to give the link for the tutorial on working with royal frosting, as she does an excellent step by step guide. Also the sugar cookie recipe I am sharing is a basic shortbread recipe with a few twists. It's a recipe I have been given by a dear friend, but I changed a few things. The result is a cookie that holds up great for cutting out, but also has a tender texture.

Working With Royal Icing By The Cake Journal

sugar cookie recipe

3 sticks of unsalted butter at room temperature
2 eggs
1/2 cup powder sugar
1/2 cup sugar (i used vanilla sugar)
1 tsp vanilla
1/2 tsp salt
3 3/4 cups of flour

Cream together sugar and butter until fluffy.  Add eggs, vanilla, salt and flour. Mix until forms soft dough.  (do not over mix or the cookies will spread during baking). Divide into two discs, wrap in plastic and refrigerate at least two hours.

Preheat oven to 375 degrees.  Roll out dough on a floured surface to 1/4 inch thickness. Cut out desired shape, place on greased cookie sheet, and bake 13 to 15 minutes, depending on size.  Don't over bake, the top of the cookie will be pale, but golden on the bottom.  Allow to cool completely on a cooling rack.

If you are cutting all the cookies at once, keep the sheets refrigerated until ready to bake. If the dough is too warm, it will spread and not hold its shape.

Decorate as desired. I used mini chocolate chips for the eyes on the ghosts. Get creative and fun with this!
tray full of ghosts

Wednesday, September 8, 2010

Wholesome Wednesday (no sugar waffles)

Waffles! It's one of the foods that we enjoy weekly for breakfast or dinner.  I always bought the boxed waffles by the case at the club stores, and I would go through them very fast.  Then about two years ago, I purchased one of the best values for my kitchen....a Belgian waffle maker.  I splurged and bought the Waring Pro, and I love everything about it. I can make a batch of waffles, from prep to finish in about ten minutes, and that includes clean up.

For the last couple of years I have used a traditional waffle mix, and it produces delicious waffles. Then I started thinking, how can I make this better for Brandon (with his glucose issues), and the rest of us.  So I took a scratch waffle recipe and gave it a few tweaks.  I made this yesterday and served them to the boys (including my husband), and the consensus was, they are delicious.  I simply swapped out some of the all purpose flour for whole wheat, and I used Splenda instead of sugar.  I served them with sugar-free syrup approved for diabetes and they gobbled them up.

I was going to switch the eggs for egg substitute but I was out. I think I will try to other variations of this base recipe in the near future.  I also had an after thought, put some walnuts in the batter for a little more protein :o)

recipe

1 cup all-purpose flour
1/2 c. whole wheat flour
1 1/2 tsp baking powder
2 tbsp Splenda

2 tsp vanilla
1 1/2 c. milk
2 eggs

combine all ingredients with a whisk.  prepare waffles according to your manufacturers instructions.  top with sugar-free syrup or fruit. 

tip: grated lemon or orange zest in the batter would be a nice touch too!

Sunday, September 5, 2010

Vanilla Sugar

The weather is starting to cool down, and for most people that means they will turn their ovens back on to bake.  Me, I've been baking all summer, but I do appreciate the coolers temps. I have an abundance a sweet treats for the fall and holidays, and a lot of them will include vanilla sugar.  So you ask, what is vanilla sugar???? It's exactly what it sounds like, sugar infused with vanilla flavor.  It can be purchased at those wonderful high end cooking stores. You know, the stores I walk through but really can't afford. But vanilla sugar can also be made right in your own kitchen very simply.

I decided to give this idea early because it really does take a couple of weeks for the flavor to infuse thoroughly.  I also have a lot of ways to use it come this holiday season as gift ideas. Around November I will do a complete list of how to gift vanilla sugar with incredibly cute packaging ideas. For now, let's just get some made. Once you have vanilla sugar in stock in your pantry, use it in baking where you would use plain white sugar.

You'll need:

Vanilla Beans (I got them at Williams & Sonoma, but McCormick sells them too in the spice aisle)
Sugar
Air tight plastic or glass container

This is really simple, so here goes. Simply measure out 2 to 3 cups of sugar and place it in a container.  Then cut the vanilla bean lengthwise, and run your knife down the vanilla bean to scrape out the seeds. Place the seeds and vanilla bean into the sugar and stir around a bit.  Bury the bean in the sugar and place the lid on it.  For best results, leave sit for 3 to 4 weeks.

Next week, I teach you how to make your own vanilla. Again very simple.